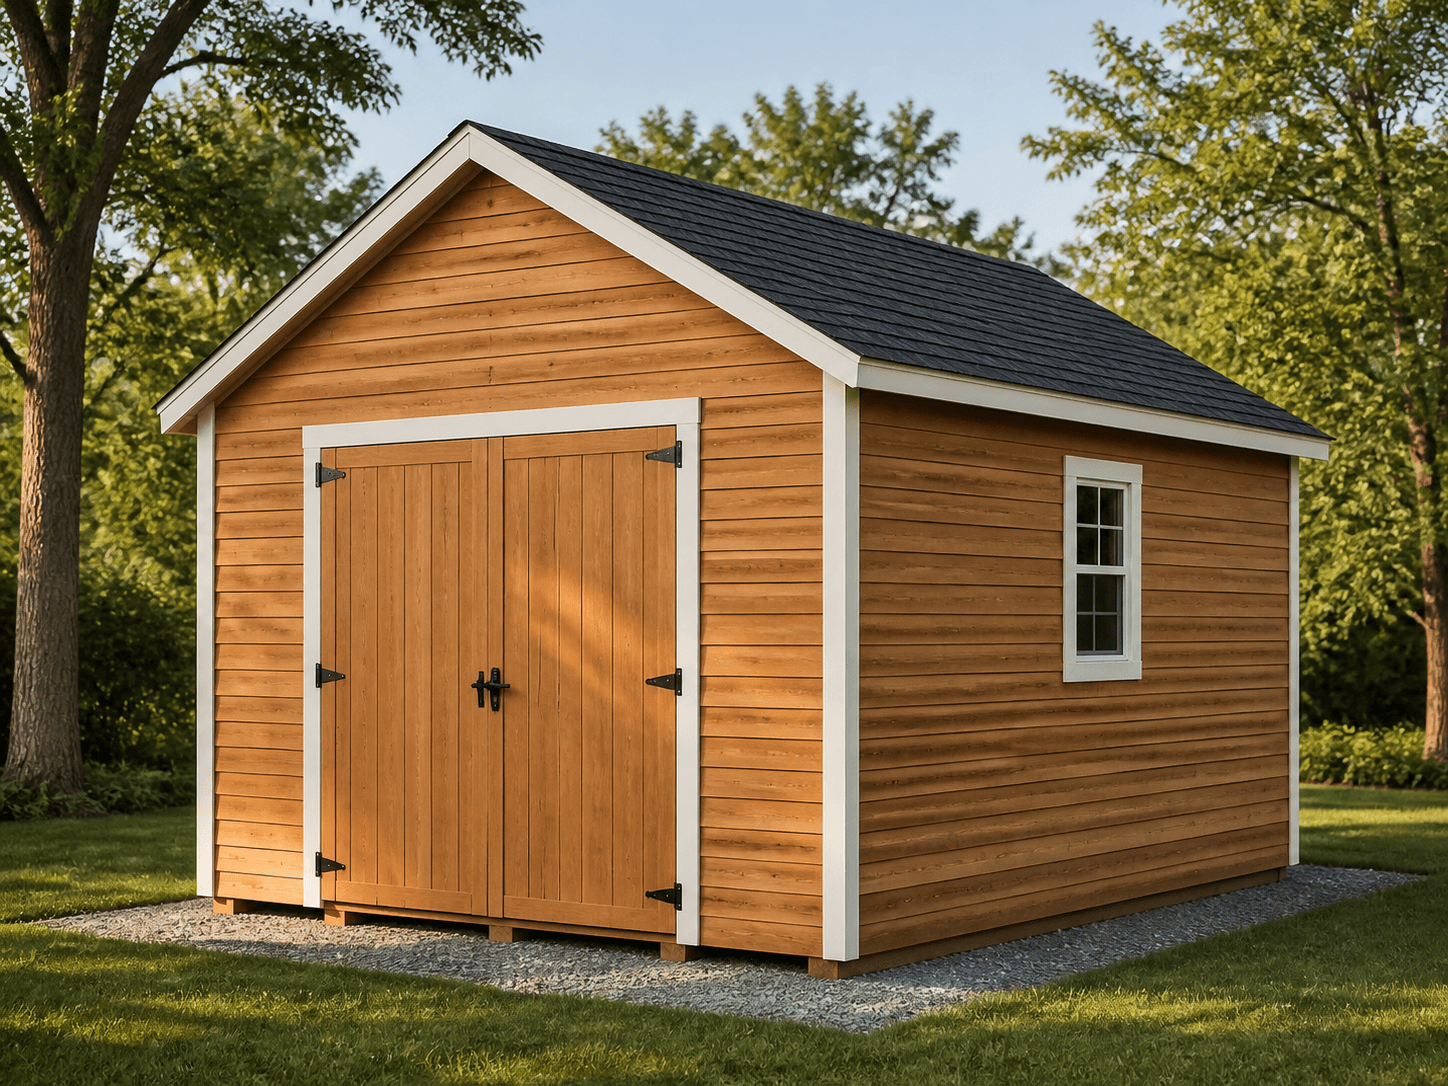
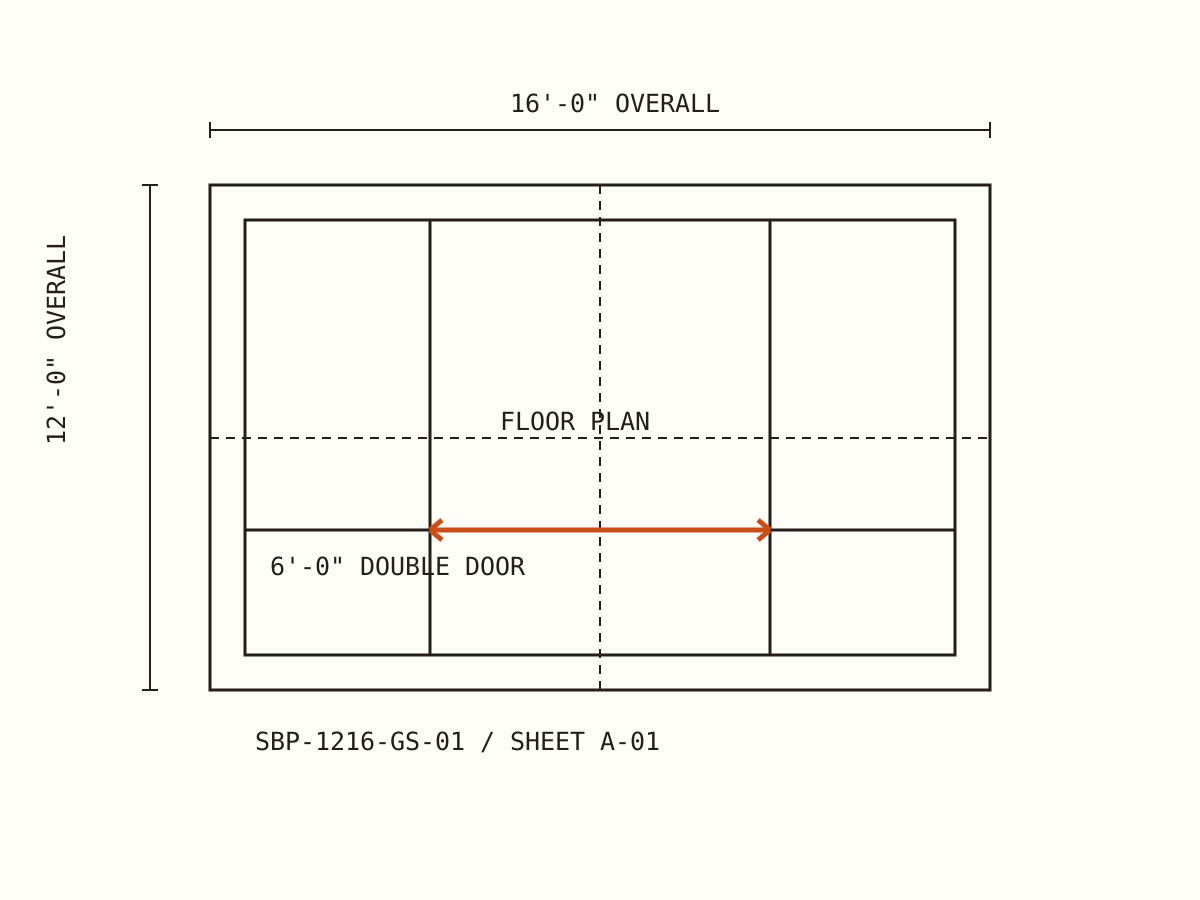
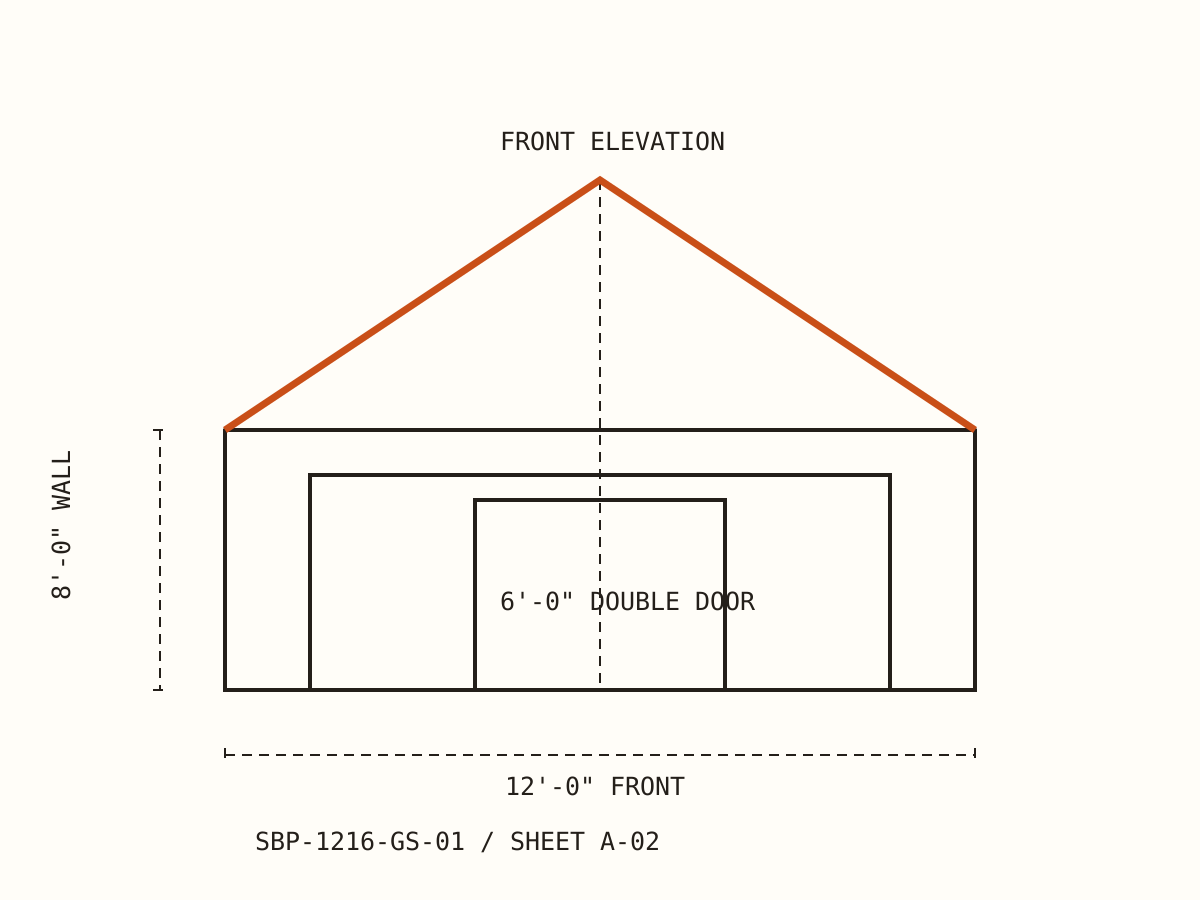
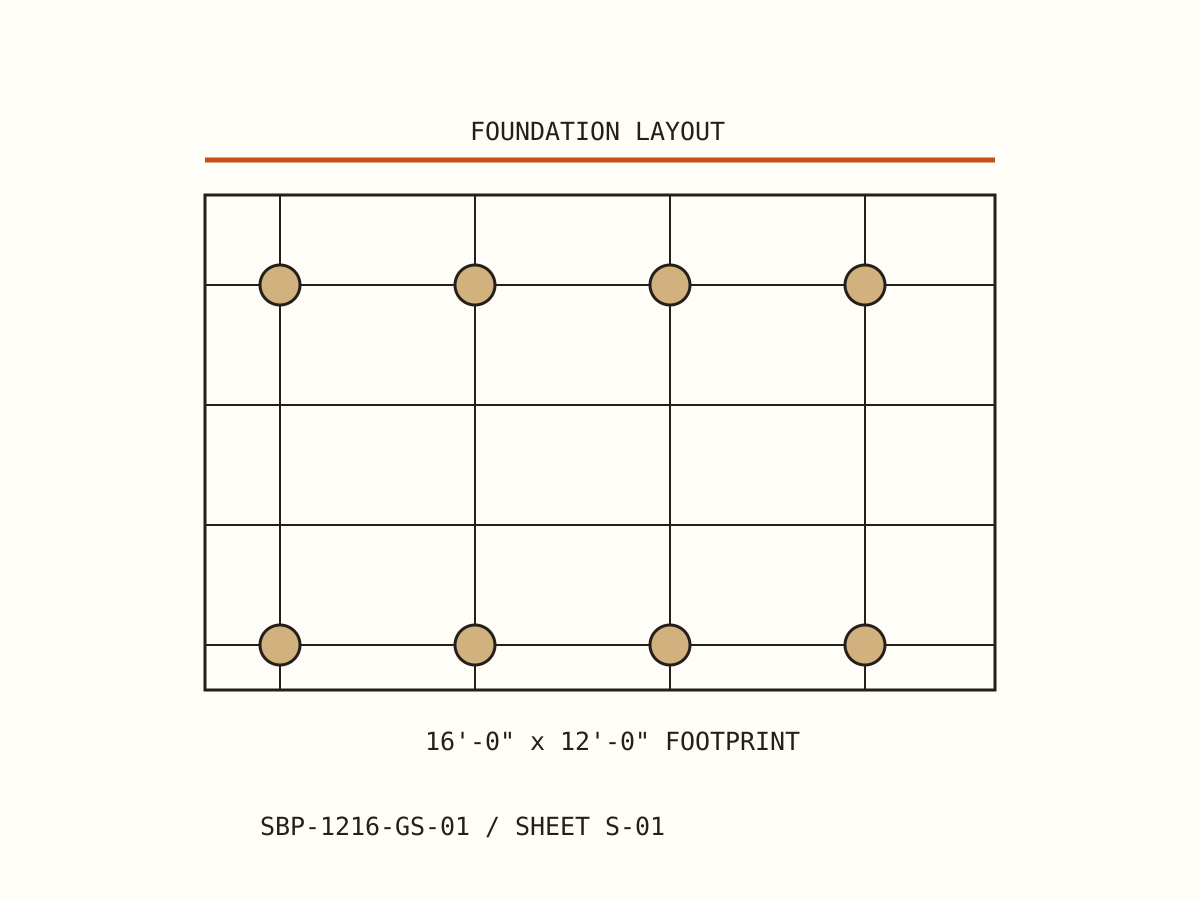
12x16 Gable Storage Shed plan
Footprint
12 ft × 16 ft
Total area
192 sq ft
Roof style
gable
Plan version
1.0.0
A straightforward 192 sq ft gable shed with wide double doors, a conventional 2x4 wall system, and a build sequence designed for capable DIYers.
01 / Overview
What you'll build
Best for
- Lawn equipment
- Seasonal storage
- Small workshop
Why this design
The 12 ft span keeps the floor system simple while the 16 ft length creates enough clear storage for a riding mower, shelves, and a workbench.
02 / Technical drawings
See the job before you start it.
Materials list
| Material | Quantity |
|---|---|
| 2x6 pressure-treated floor joists | 14 |
| 3/4 in tongue-and-groove floor sheathing | 6 sheets |
| 2x4 SPF wall studs | 74 |
| 7/16 in OSB wall and roof sheathing | 22 sheets |
| Asphalt shingles with underlayment | 7 bundles + underlayment |
Cut list
| Part | Material | Length | Qty |
|---|---|---|---|
| Floor joist | 2x6 PT | 11 ft 9 in | 14 |
| Front and rear wall stud | 2x4 SPF | 92 1/4 in | 48 |
| Side wall stud | 2x4 SPF | 92 1/4 in | 26 |
| Rafter pair | 2x6 SPF | 7 ft 8 in | 13 |
03 / Construction sequence
Build in the right order.
- 01
Prepare the foundation
Establish a level, compacted base sized beyond the shed footprint. Place the approved foundation system square to the planned building lines.
Parts
Foundation blocks or approved slab, Gravel baseFasteners
Foundation system specificCheck
Verify diagonals match before the floor frame is assembled. - 02
Frame the floor
Assemble the treated 2x6 rim and joist system, square it by diagonal measurement, then fasten the floor sheathing with staggered seams.
Parts
14 floor joists, Rim boards, 6 floor sheetsFasteners
3 in structural screws; 2 1/2 in coated subfloor screwsCheck
Floor corners must be square, level, and fully supported. - 03
Raise and secure the walls
Frame front, rear, and side walls flat. Stand each wall, plumb it, brace it, and connect corners before installing wall sheathing.
Parts
Wall plates, Studs, Door headerFasteners
3 in framing nails or structural screwsCheck
Check plumb on every corner and recheck the building diagonals. - 04
Frame and weatherproof the roof
Install rafter pairs to the marked layout, add roof sheathing, underlayment, shingles, and drip edge in the correct sequence.
Parts
13 rafter pairs, Roof sheathing, Underlayment, ShinglesFasteners
16d framing nails; roofing nails per manufacturerCheck
Verify ridge alignment, overhangs, and all flashing before closing the roof.